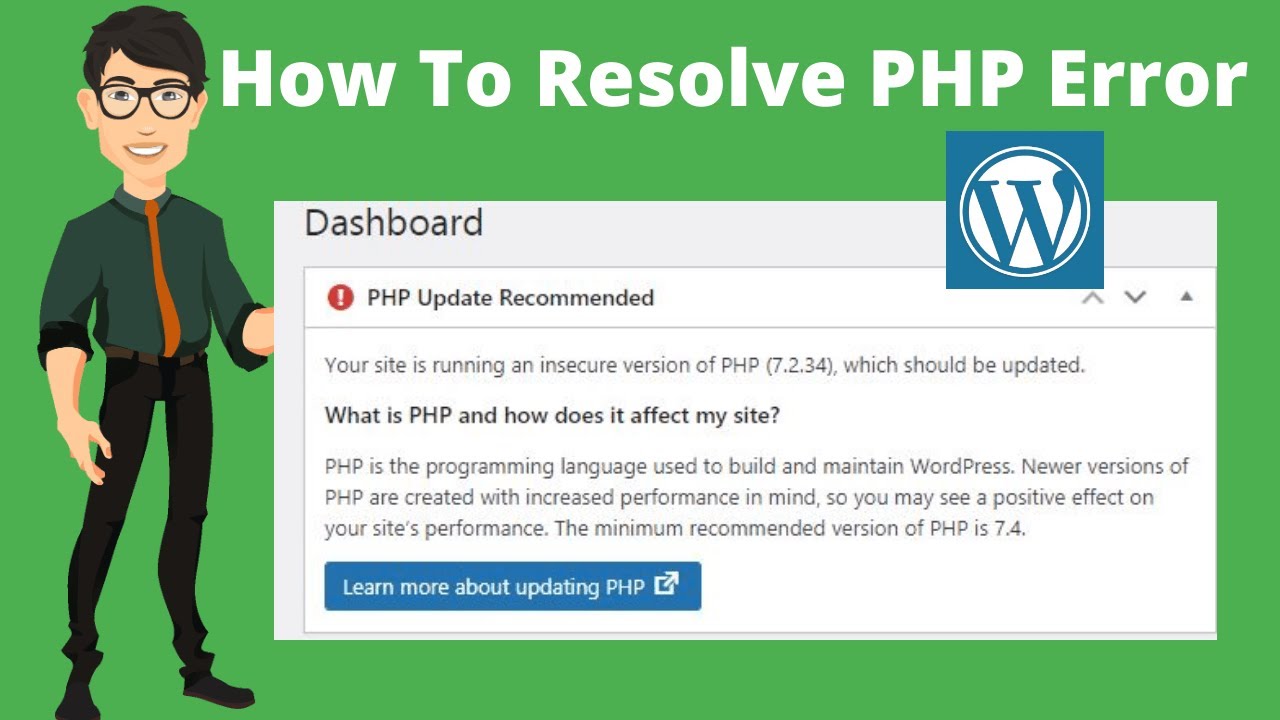
Seeing a bright red or orange warning banner in your admin panel that says PHP update required can be stressful. WordPress displays this system notification when your web server runs an outdated version of PHP that no longer receives active maintenance or security patches.
PHP is the open-source scripting language that powers core WordPress functions, themes, and plugins. Running an outdated PHP version makes your website vulnerable to security exploits, reduces page load speeds, and creates compatibility issues with modern plugins.
Resolving this warning is straightforward and usually takes less than five minutes. This step-by-step tutorial based on TechieBlogging’s video demonstrates how to update your PHP version safely through cPanel without breaking your site.
What Is the WordPress PHP Update Required Error?
WordPress relies on PHP to build web pages dynamically every time a user visits your site. The language undergoes regular updates from its core development team to patch security holes, improve memory execution, and introduce modern features.
When your host runs an older release—such as PHP 7.0, 7.1, or 7.2—your website misses critical performance improvements. Modern releases process requests faster and handle concurrent traffic much better than older branches.
WordPress includes built-in site health tools that regularly check your environment. When it detects an outdated PHP runtime, it triggers the dashboard notification to prompt action before plugins start breaking.
According to Ask4Tech’s breakdown of WordPress PHP risks, running unmaintained PHP builds increases the risk of site crashes and malicious script injection.
Updating your PHP version protects your site from security flaws and boosts performance across all pages.
Prerequisites Before Updating Your PHP Version
Before making changes inside your web hosting control panel, take a few minutes to prepare your site. Changing the underlying execution environment can occasionally trigger conflicts with legacy plugins or abandoned themes.
Following a clear preparation checklist ensures that your content stays safe and your site remains accessible throughout the update process.
1. Generate a Complete Site Backup
Always create a full backup of your MySQL database and WordPress files before modifying server settings. You can use plugins like UpdraftPlus or your hosting provider’s native backup wizard to save a local copy of your site state.
2. Update WordPress Core, Plugins, and Themes
Outdated themes and plugins are the most common cause of compatibility errors when changing PHP versions. Go to your WordPress Dashboard, open the Updates screen, and apply all pending software updates first.
3. Verify Hosting Account Credentials
Make sure you have active login details for your web hosting account or control panel (such as cPanel, DirectAdmin, or Plesk). You will need administrative rights to alter server language configurations.
Step 1: Log In to Your Web Hosting Control Panel
To start the update process, open a new browser tab and navigate to your hosting account portal. In this example, we use ChemiCloud, but the overall steps apply to almost any cPanel host, including Bluehost, HostGator, and A2 Hosting.
Enter your primary username and password to log in to your account dashboard. Look for the control panel entry point, usually labeled cPanel Direct Access or Manage Hosting.
Click the cPanel button to launch the main server administration workspace. This workspace contains all database tools, file managers, domain records, and language configuration utility tools.
Step 2: Locate the PHP Selector Tool in cPanel
Once inside the cPanel dashboard, you will see dozens of technical categories. Instead of scrolling through each section manually, use the search filter at the top of the interface.
Press Ctrl + F on Windows (or Cmd + F on Mac) and type Select PHP Version into the search bar. cPanel will highlight the software tool immediately under the Software category.
Click on the Select PHP Version icon. This tool displays your account’s active execution engine, available language branches, and active extensions.
Note that some hosting management layouts display this option as MultiPHP Manager or PHP Configuration. Both options perform the same core function of changing your active script engine.
Step 3: Change Your Version and Enable Essential Extensions
Inside the PHP selector workspace, you will see your current active environment setting. In older environments, this often displays 7.2 or 7.3 as the current selection.
Click the drop-down menu displaying the version list. Select 7.4 or higher (such as 8.0 or 8.1), depending on what your active plugins and themes support.
Click the Set as Current button next to the dropdown box. cPanel will process the request and apply the changes across your account within a few seconds.
Check your PHP extensions list after selecting a new version to prevent missing dependency errors.
Before closing the control panel, verify that required PHP extensions are active. Essential modules include:
- curl: Handles remote API requests and licensing checks.
- gd / imagick: Handles media uploads, thumbnail generation, and image resizing.
- mbstring: Manages non-English character sets and string operations.
- mysqli: Enables communication between WordPress core and your database.
- zip: Processes plugin uploads, theme installations, and automatic updates.
If you are unsure which modules to turn on, click the Reset to Default button. cPanel will automatically check every standard module necessary to run WordPress without issues.
Step 4: Verify Your WordPress Dashboard and Front End
Now that cPanel shows your updated environment as active, switch back to your WordPress admin window. Refresh the page in your browser using Ctrl + F5 to clear cached data.
Check the notification center at the top of your screen. The orange PHP update required warning banner should disappear completely.
Next, open your front-end website in a private or incognito browser tab. Test key user paths to verify that everything renders as expected:
- Browse major pages, posts, and category archives.
- Submit a contact form to test email delivery.
- Add products to your cart and test checkout forms if running WooCommerce.
- Check site loading speed using a WordPress page speed and TTFB checker to measure performance gains.
How to Revert PHP Versions if Errors Occur
If your website displays a blank white screen (the white screen of death) or shows fatal code warnings after changing settings, do not panic. This usually means an older plugin is incompatible with the updated engine.
You can instantly revert your account back to its previous working state by reversing the process inside cPanel:
- Return to the Select PHP Version module in cPanel.
- Open the version dropdown menu and pick your original setting (such as 7.2).
- Click Set as Current to save changes.
- Refresh your WordPress site to verify that access is restored.
Once your site is accessible again, identify the problematic plugin by disabling installed plugins one by one. Update or replace any unsupported plugin before attempting to change your language version again.
Detailed step-by-step strategies for troubleshooting updating failures can be found in the WPBeginner guide on PHP updates in WordPress.
Alternative Option: Requesting Assistance From Your Web Host
If your web hosting dashboard does not include cPanel or lacks the Select PHP Version utility, contact your host’s customer service department.
Most managed WordPress hosts will update the server engine for you upon request. Here is a simple support ticket template you can copy and send to your hosting provider:
“Hello Support Team, my WordPress dashboard displays a warning stating that a PHP update is required. Could you please update the active PHP version on my account (domain.com) to 7.4 or higher? Please ensure all standard extensions like curl, gd, mbstring, and zip remain enabled. Thank you!”
Next Steps: Advanced Speed and Server Optimization
Resolving your script version warning is an important first step toward modernizing your infrastructure. Once your site runs cleanly on a modern release, consider additional server optimizations to maximize site speed.
If you encounter rewrite issues or caching conflicts during server adjustments, clean up your directive configurations using a free WordPress .htaccess generator tool.
To further reduce database queries and speed up page generation times on modern script builds, learn how to configure Redis cache in WordPress for peak speed.
Key Takeaways
- WordPress displays the PHP update required error when your hosting environment runs an unmaintained PHP version.
- Updating your PHP version improves security, increases execution speed, and reduces memory consumption.
- Always complete a full database and site file backup before making server adjustments in cPanel.
- Use cPanel’s Select PHP Version tool to change your active version to 7.4 or higher and reset default extensions.
- If a plugin conflict causes errors after an update, you can immediately revert to your prior version in cPanel.
Frequently Asked Questions
Why does WordPress show a PHP update required warning?
WordPress displays this warning when your web server is running an outdated version of PHP, the core programming language powering the platform. Updating your PHP version is essential for fixing security vulnerabilities, boosting site performance, and ensuring theme and plugin compatibility.
How do you update your WordPress PHP version through cPanel?
Log into your hosting account, open cPanel, and search for the Select PHP Version option. Choose the recommended PHP version from the dropdown menu, ensure the necessary extension checkboxes are selected, and click Set as current.
What should you do if your website breaks after updating PHP?
If your website encounters errors after a PHP upgrade, you can immediately revert to your previous PHP version through cPanel. Simply return to the Select PHP Version tool, choose your old PHP version from the dropdown menu, and click Set as current to restore site functionality.