Need to transfer photos from Android to iPhone without a computer? In 2026, you can move a few pictures with a direct-transfer app, keep a library available across both phones with cloud storage, or bring your camera roll over during new-iPhone setup. The right choice depends on whether your iPhone is already set up, how many photos you have, and whether you want copies saved in the Apple Photos library.
Android and iPhone organize photos, permissions, and cloud libraries differently, so a method that is ideal for a new iPhone may not suit an iPhone you already use. The options below cover local Wi-Fi transfers, cloud access, and Apple’s migration tool so you can choose a workflow that fits your situation.
Most of these services also work on iPad. Before starting, update both apps, give the transfer app permission to access your photos, keep both devices charged, and use a trusted Wi-Fi network when a method requires one.
Using PhotoSync Transfer Photos From Android To iPhone
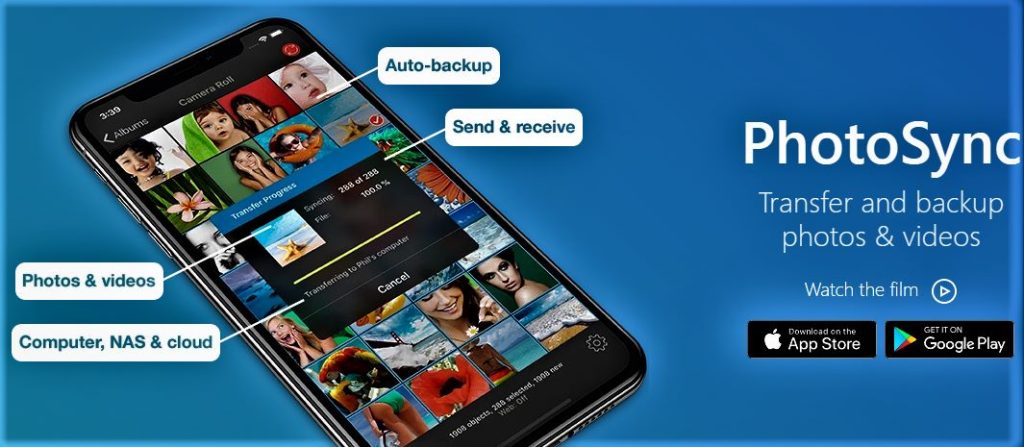
PhotoSync is an excellent tool for transferring photos between devices, including Android to iPhone. It has a free and premium version, hence, please choose based on your requirements.
PhotoSync is a reliable app for transferring photos and even supports the transfer of RAW photos and HD videos. It also retains all photo metadata during the transfer, which is a boon for photographers who want to keep track of their shooting data.
Here is a step-by-step guide on how to use PhotoSync to transfer photos from Android to iPhone without computers.
Step 1: Install PhotoSync on both Android and iPhone.
On your Android device, go to the Google Play Store, search for ‘PhotoSync’, and install it. Do the same on your iPhone, but using the App Store.
Step 2: Connect both devices to the same Wi-Fi network.
For a local PhotoSync transfer, both devices should be on the same Wi-Fi network. Prefer a private home or trusted network rather than public Wi-Fi, and keep both apps open until the transfer is complete.
Step 3: Open PhotoSync on your Android device.
Launch PhotoSync and you’ll see various options on the home screen. First, tap on ‘Sync’ and then tap on ‘Select’.
Step 4: Choose the photos you want to transfer.
You’ll see all your photo folders. Choose the folder(s) containing the photos you want to transfer or select individual photos if you prefer.
Step 5: Tap on ‘Sync’ again.
After you’ve selected your photos, tap on ‘Sync’ at the bottom of the screen. It will initiate a transfer request.
Step 6: Choose your iPhone as the receiving device.
On Android, select the iPhone shown as the receiving device and follow the in-app prompt to send. If the iPhone does not appear, confirm that both phones are on the same network, that PhotoSync has the needed local-network and photo permissions, and that neither phone has closed the app.
Step 7: Receive the photos on your iPhone.
Go to your iPhone, open the PhotoSync app, and accept the incoming transfer. The transfer will start immediately.
Using Google Photos

Google Photos is a fantastic platform that automatically backs up your photos and videos to the cloud. As it is installable on both Android and iOS devices, it makes it a great choice for this task.
You can use google drive as well, instead of Google Photos.
Step 1: Install Google Photos on your Android device.
Go to the Google Play Store, search for ‘Google Photos’, and then install it.
Step 2: Back up your photos to Google Photos.
Open Google Photos on your Android device. Sign in to your Google account (or create one if you don’t have it).
Once signed in, open Google Photos settings and turn on backup. Choose the Google account and review the backup options before uploading. Your photos will begin uploading when the app has permission and a suitable connection.
Note that the speed of this process depends on your internet connection and the number of photos you have.
Step 3: Access and download your photos on your iPhone.
Now, grab your iPhone and install Google Photos from the App Store. Log into the same Google account you used to back up your photos.
You will see all your photos that were backed up from your Android device. You can view them anytime as long as you have an internet connection.
Now, to download the photos, select the photos and click on the “Tap More” option and then click on the download to save it on your iPhone.
Cloud Library Check: View vs. Save to iPhone
Seeing a picture in Google Photos or Dropbox does not always mean it has been saved into the iPhone Photos app. If you need an offline copy in Apple Photos, select the items in the service’s iPhone app and use its available save or download action. Check your iPhone storage first, especially before downloading a large album.
Google’s official Google Photos backup help explains how backup works and where to review account and backup settings. Use the same Google account on both devices, then wait for the Android upload to finish before looking for the photos on the iPhone.
Using SHAREit App
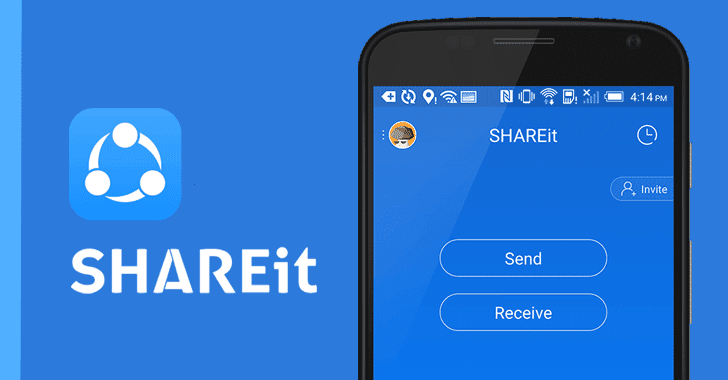
SHAREit is another popular app that you can use to transfer photos from Android to iPhone without computers. It uses a Wi-Fi connection to transfer data, which makes it faster than Bluetooth or the Internet.
The best part is you do not need an internet connection for this to work.
Step 1: Install SHAREit on both devices.
Visit the Google Play Store on your Android device and the App Store on your iPhone. Search for ‘SHAREit’ and install the app on both devices.
Step 2: Open SHAREit on both devices.
On your Android device, open SHAREit, and tap on the ‘Send’ option. Then select the photos you want to transfer. After you have selected the photos, tap on ‘Send’ again.
On your iPhone, open SHAREit and tap on ‘Receive’.
Step 3: Connect and transfer.
Your Android device will start searching for nearby devices. When your iPhone appears on the screen, tap on it. The photos will start transferring immediately.
Using Move to iOS
Move to iOS is an Apple app designed to make it easier for Android users to switch to iOS. It transfers not only photos, but also contacts, message history, camera photos and videos, web bookmarks, mail accounts, and calendars.
Hence, along with all data, it can transfer photos from Android to iPhone without computers.
Keep in mind that Move to iOS only works when setting up a new or reset iPhone. It won’t work if you’ve already set up and been using your iPhone.
Apple’s Move from Android to iPhone guide is the best reference before you begin because the setup screens and transferable categories can change with iOS updates. If your iPhone is already in use, avoid erasing it solely for photos unless you have a current backup and specifically want a full migration.
Step 1: Install Move to iOS on your Android device.
Go to the Google Play Store, search for ‘Move to iOS’, and install the app.
Step 2: Start the process on your iPhone.
During iPhone setup, reach the Apps & Data screen and choose Move Data from Android. Apple displays a code for the Android phone to enter. This option is part of setup, not a normal Settings transfer on an iPhone that has already been configured.
Step 3: Enter the code on your Android device.
Open Move to iOS on your Android device and enter the code displayed on your iPhone. After the code is entered, the transfer process will begin.
Make sure to keep both devices connected to the Wi-Fi during the entire process.
Here are two additional methods to transfer photos from Android to iPhone without computers using cloud-based storage solutions.
Transfer Photos From Android to iPhone Without Computers Using Dropbox
Dropbox is a cloud-based storage application that can be accessed from various platforms, including Android and iOS. Here’s how you can use it to transfer your photos.
Step 1: Install Dropbox on your Android device.
Go to the Google Play Store, search for ‘Dropbox’, and install it.
Step 2: Upload your photos to Dropbox.
Open Dropbox on your Android device and sign in or create a new account. Then, tap on the ‘+’ (plus) button, select ‘Upload files’, and choose the photos you want to upload.
Step 3: Install Dropbox on your iPhone.
On your iPhone, go to the App Store, search for ‘Dropbox’, and install the app.
Step 4: Access your photos on Dropbox.
Open Dropbox on your iPhone and sign in using the same account you used on your Android device. You’ll see the photos you uploaded from your Android device.
You can either view them in the Dropbox app or download them to your iPhone.
Send Anywhere

Send Anywhere is an app that allows you to transfer files directly between devices in real time. It’s a reliable method if you’re transferring a large number of photos.
Step 1: Install Send Anywhere on both devices.
Go to the Google Play Store on your Android device and the App Store on your iPhone. Search for ‘Send Anywhere’ and install the app on both devices.
Step 2: Send photos from your Android device.
Open Send Anywhere on your Android device. Tap on the ‘Send’ button and select the photos you want to transfer. After selecting, tap on ‘Send’ again.
Step 3: Receive photos on your iPhone.
You’ll see a six-digit code on your Android device after you press ‘Send’. On your iPhone, open Send Anywhere, tap on the ‘Receive’ button, and enter the six-digit code.
The photos will start transferring immediately.
4 Checks: Avoid Missing Photos and Duplicates
Before deleting anything from Android, open several transferred photos on the iPhone, including older pictures, videos, and images from different folders. Check that the expected dates appear and that you can find the files in the destination app you plan to use.
- Keep both phones awake, charged, and close together for direct transfers.
- Use Wi-Fi for cloud uploads when possible, and do not assume a cloud upload is complete until the service shows it has finished.
- Transfer in smaller albums if a large batch fails or the receiving app becomes unresponsive.
- Keep the Android originals until you have verified the transfer and any backup you intend to rely on.
For sensitive photos, review the app’s permissions and use a trusted network. Cloud services are convenient, but they require signing in to an account and uploading files to that provider before they can be accessed on the iPhone.
Conclusion
In 2026, transferring photos from Android to iPhone without a computer is mainly a choice between a one-time local transfer, cloud access, and a full new-device migration. Pick the method based on where you want the final copies to live and whether the iPhone is still on its setup screen.
Google Photos and Dropbox are practical when you want to access the same library across devices, while PhotoSync and Send Anywhere can suit a direct one-time transfer. Move to iOS is the purpose-built option for an iPhone that is new or has been erased and is being set up again.
Use a reliable connection for cloud uploads and a trusted shared Wi-Fi network for local-transfer apps. Finally, verify your photos on the iPhone before removing them from Android; that simple check is the safest way to avoid an accidental loss during a phone switch.
FAQ: Android-to-iPhone Photo Transfers
Can I use Move to iOS after I set up my iPhone?
No. Move to iOS is intended for the new-iPhone setup process or after an iPhone has been erased. If your iPhone is already configured, use a direct-transfer app or a cloud service instead.
Do I need the internet to transfer photos?
Cloud methods need an internet connection to upload and access files. Direct-transfer apps may use a local Wi-Fi connection between the phones, but follow the app’s prompts because requirements differ by service.
Should I delete photos from Android immediately after transferring?
No. Keep the originals until you have opened a representative selection on the iPhone and confirmed that the transferred photos are in the app or cloud library you expect.
Last reviewed: 2026. App menus, permissions, storage limits, and transfer options can change, so check the official app documentation before a large migration.